|
|
|
HOME > Download Top > How to Install
 Double-click the downloaded exe file.
Begin installing SILKYPIX Developer Studio.
Click the [Next] button.
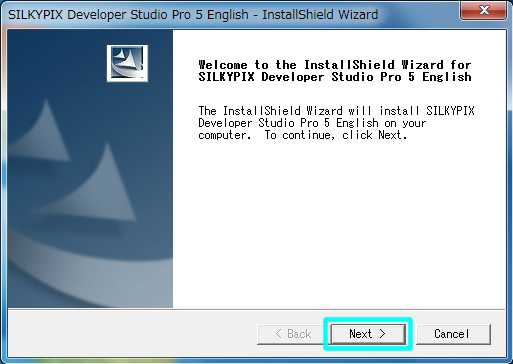
Click the [Next] button.
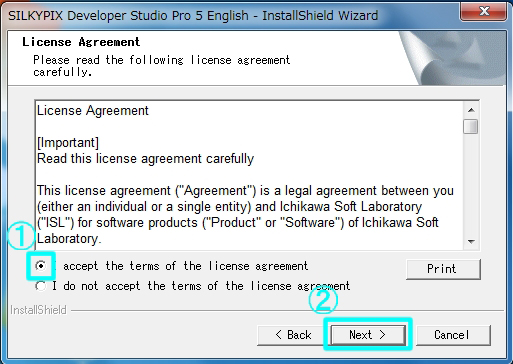
After reading the "License Agreement",
please click the "I accept the terms of the license agreement"
and click the [Next] button.
please click the "I accept the terms of the license agreement"
and click the [Next] button.
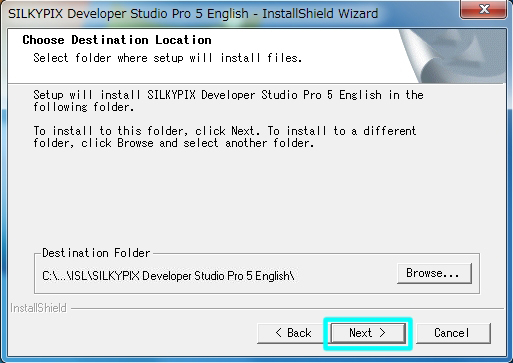
Confirm the destination folder, and then click the [Next] button.
Click the [Install] button.
This will begin the installation.
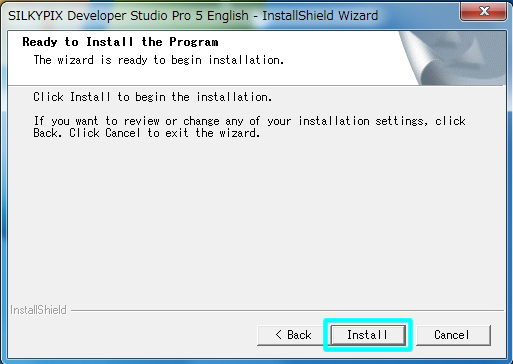
This will begin the installation.
File coping has begun.

Click the [Finish] button when the installation is completed.

 The short cut icon will automatically be set on your desktop.
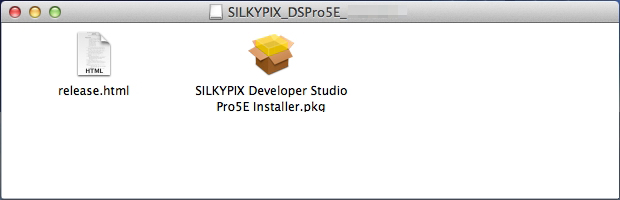
 Expand the downloaded dmg file and mount to the disk image.
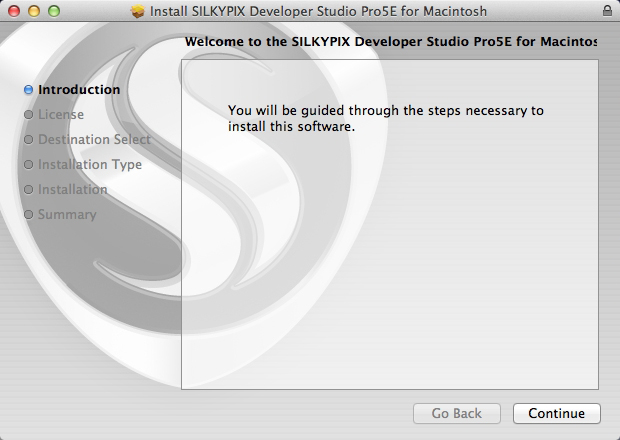
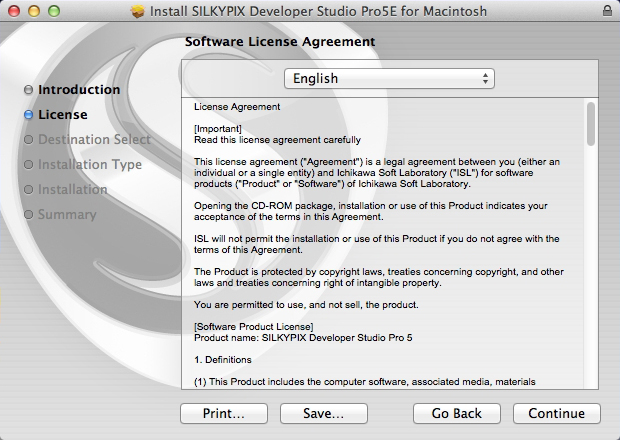
Open the expanded pkg file, and starting the installation.
Click the [Continue] button.

After reading the "Software License Agreement",
please click the [Continue] button.
please click the [Continue] button.
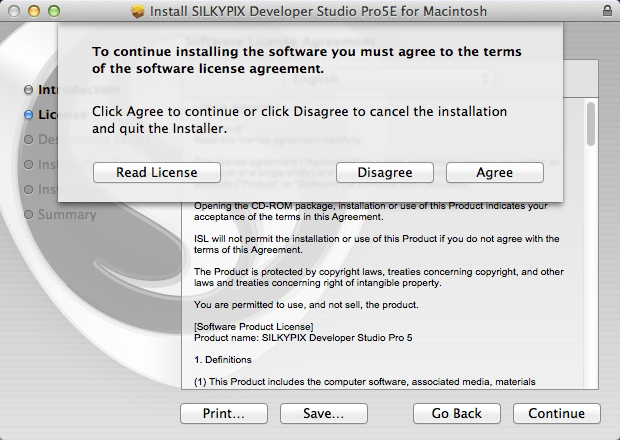
Click the [Agree] button.

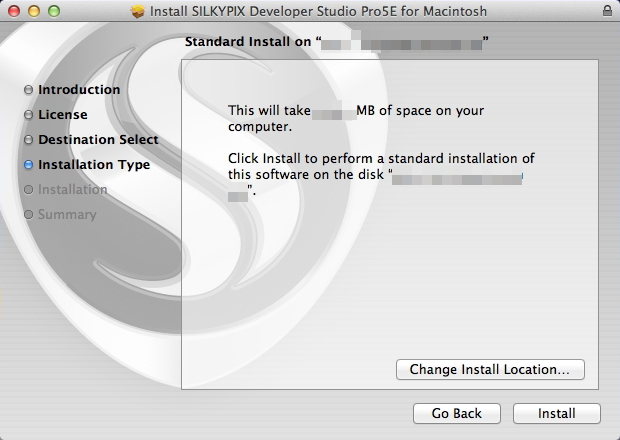
Select the volume for the installation
and click the [Install] button.
and click the [Install] button.

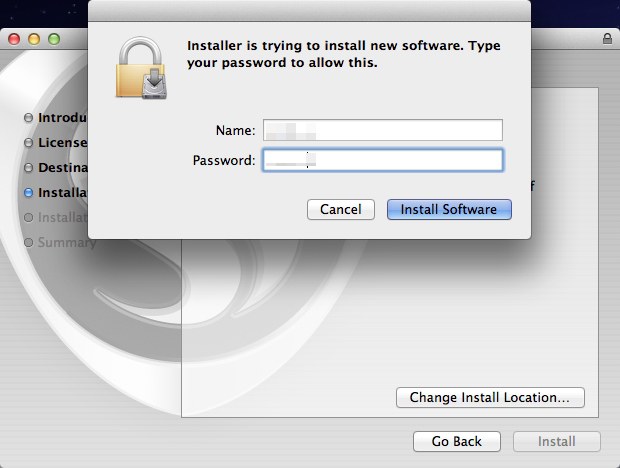
Please enter the name and password of your user account,
then click the [Install Software] button.
then click the [Install Software] button.

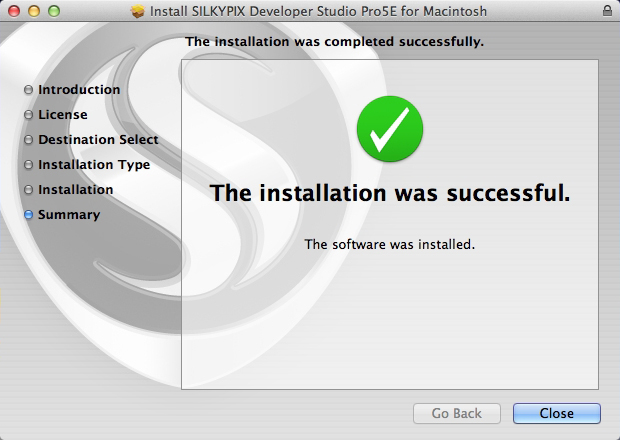
This will begin the installation.

Click the [Close] button when the installation is completed.