SILKYPIX Developer Studio 8 SE Startup Guide
4. Adjust Images (Main Controls)
4-1. Basic operation of adjustment
Adjustment workflow
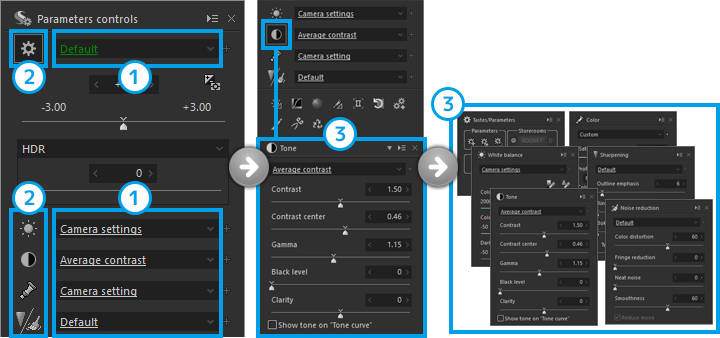
Adjustments can be made to images by selecting preset parameters called 1. "tastes" in parameters controls. To make fine adjustments, click 2. "parameter icons" to switch between the 3. "tab pages" for each function. On each tab page, fine adjustments are made to the parameters mainly with sliders.
Examples of adjustment (in the case of white balance)
1. Select a taste
2. Make fine adjustments with sliders

4-2. Main controls
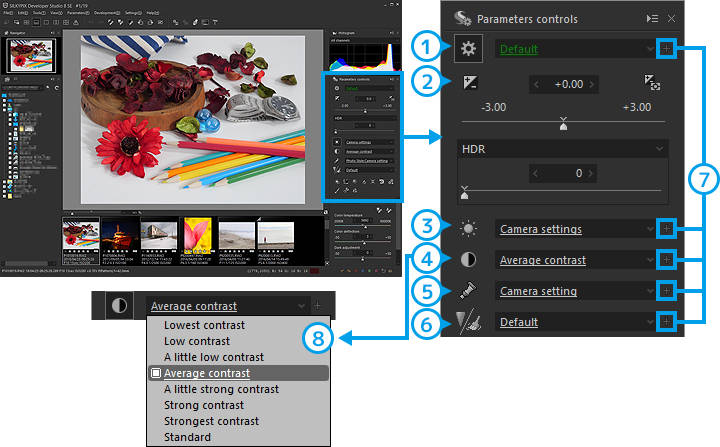
Parameters controls
Basic adjustments are made to images mainly by selecting a taste (menu).
| Name | Overview | |
|---|---|---|
| 1 | Tastes/Parameters | Allows you to add and edit tastes, save, load, and initialize development parameters, and copy development parameters to Storerooms. |
| 2 | Exposure bias/HDR/Dodge | Adjusts the lightness and dynamic range of an image. |
| 3 | White balance | Adjusts the overall hue of an image. |
| 4 | Tone | Adjusts tones such as contrasts and gammas as well as clarity. |
| 5 | Color | Changes Photo Style and adjusts saturation. |
| 6 | Sharpening/Noise reduction | Adjusts the strength of an image's outline and amount of noise. |
| 7 | Add taste | Allows you to add a set parameter as a taste. |
| 8 | Tastes | Executes preset parameters from the menu. |
Tab pages
Detailed adjustments are made to parameters mainly with sliders.
| Name | Overview | |
|---|---|---|
| 1 | Slider | Moved sideways to adjust parameters. |
| 2 | Edit box | Indicates parameter values. Values can be entered directly, and fine adjustments can be made by clicking the left (<) and right (>) buttons with the mouse. |
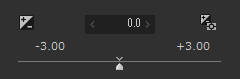
| 3 | Default mark | Indicates default parameters. |
| 4 | Display menu | The tab page can be displayed in a floating window. |
4-3. Adjust images (main controls)
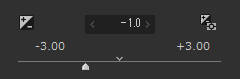
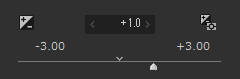
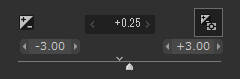
Exposure bias
With exposure bias, the lightness of an image can be adjusted between -3.0EV and +3.0EV.
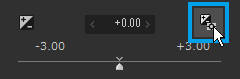
1. Adjust with sliders
Moving the slider sideways will allow you to adjust the exposure bias in 0.1EV increments.


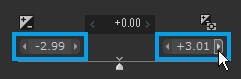
2. Exposure bias fine tune
Clicking the < and > buttons on either side of the exposure bias value will allow you to adjust the exposure bias in 0.01EV increments.
3. Auto exposure bias
By clicking the [Auto exposure bias] button, the overall lightness of an image will be evaluated and the exposure bias will be automatically adjusted.

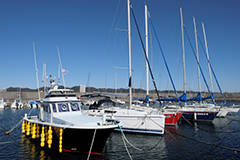
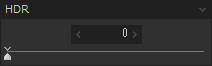
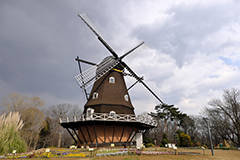
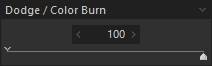
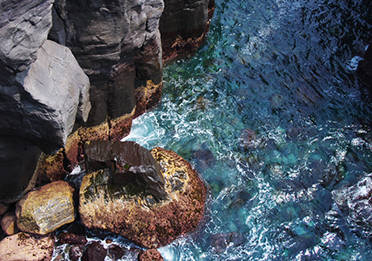
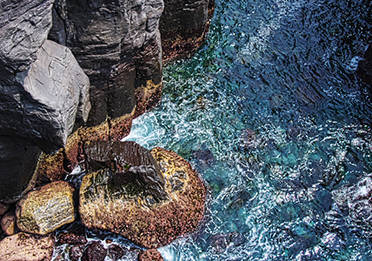
Dodge/Color Burn/HDR
HDR and Dodge/Color Burn are functions that allow you to "make dark areas lighter (Dodge)" or "make light areas darker (Color Burn)" on images with a lot of blown-out highlights or blocked-up shadows.
1. Select HDR and Dodge/Color Burn
Select HDR and/or Dodge/Color Burn.
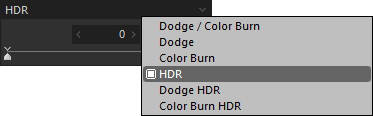
| HDR | Dodge/Color Burn/HDR | |
|---|---|---|
| Bias effects | Strong | Weak |
| Image lightness (average luminance) | Big change | Little change |
| Finish | Exaggerated | Natural |
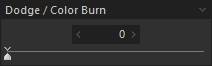
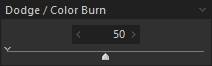
2. Adjust with sliders
Adjust the amount of exposure bias with a slider.
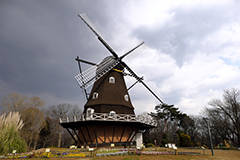
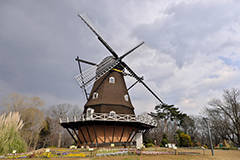
Example using HDR
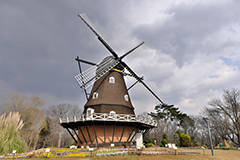

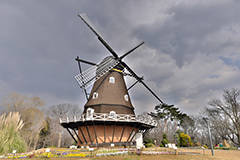

Example using Dodge/Color Burn

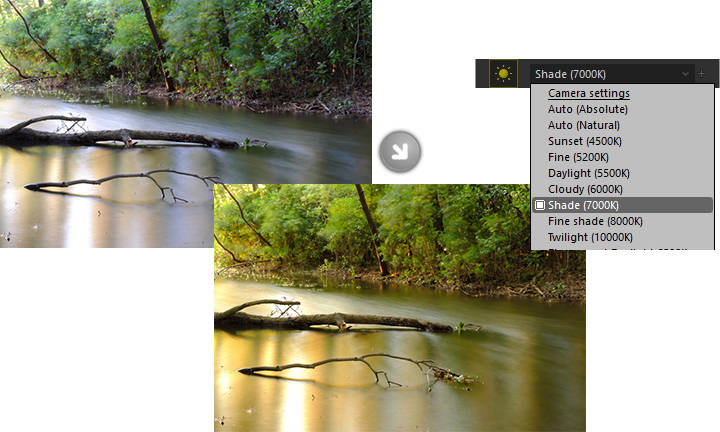
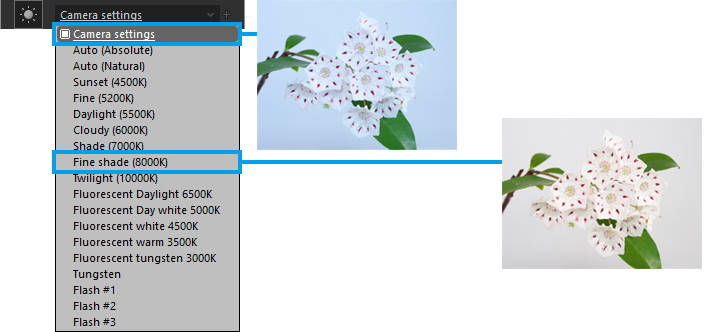
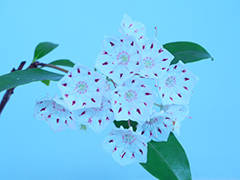
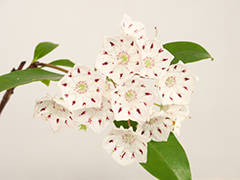
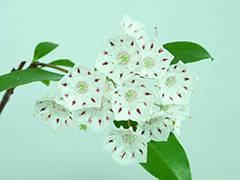
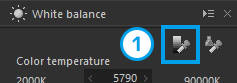
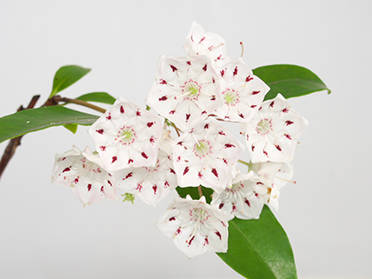
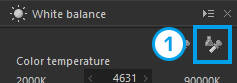
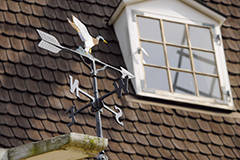
White balance
White balance is a function that adjusts the overall hue of an image. The default value of white balance is carried over from the camera setting.
1. Select from tastes
Select a white balance option from the menu according to the light source color at the time the picture was taken.
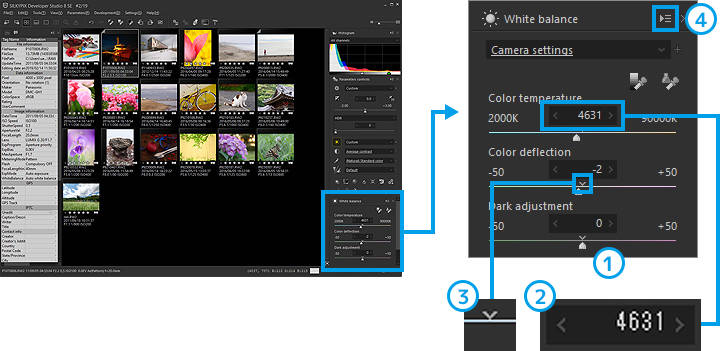
2. Adjust with sliders
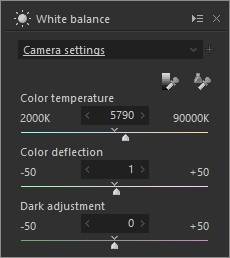
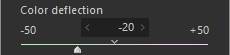
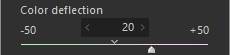
The [Color temperature] slider adjusts between cold and warm colors.

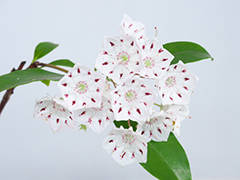


The [Color deflection] slider adjusts between green and magenta.


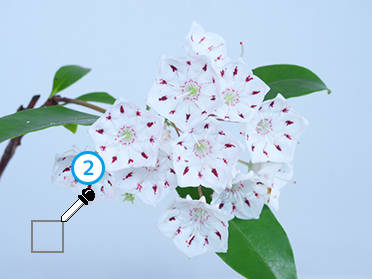
3. Gray balance tool
Specify a gray area in an image and adjust the white balance.
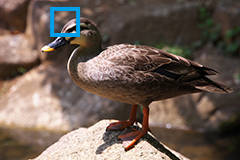
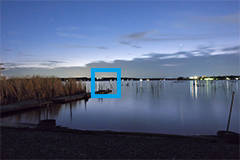
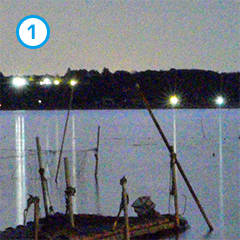
If you click the 1.[Gray balance tool] icon, the mouse cursor turns into an eyedropper. Move the cursor to where you want to make gray on the preview screen and 2. specify an area. White balance will be set so that the specified area will turn gray.
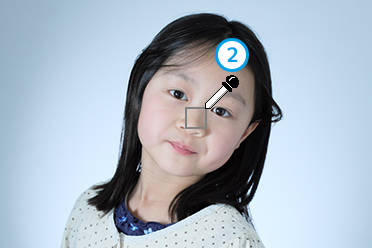
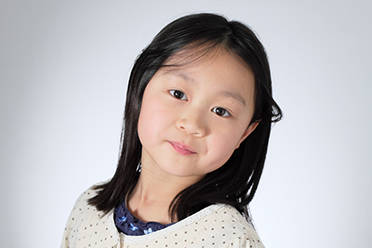
4. Skin color tool
Specify a skin color in an image and adjust the exposure and white balance.
1. If you click the [Skin color tool] icon, the mouse cursor turns into an eyedropper. Move the cursor to the skin color area on the preview screen and specify an area. White balance will be set so that the specified area will turn into a bright skin color.
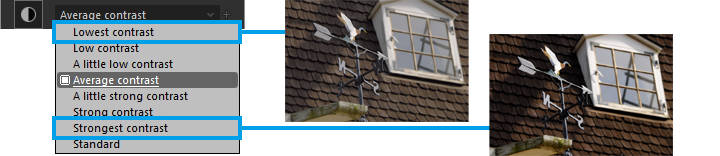
Tone
Tone is used to adjust contrast and clarity.
1. Select from tastes
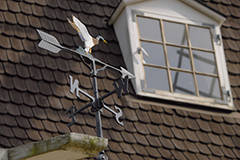
You can select contrast levels between [Lowest contrast] and [Strongest contrast] depending on the subject.
2. Adjust with sliders
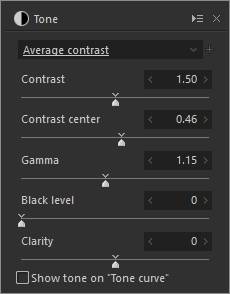
Use [Contrast] to adjust the contrast level.


Use [Contrast center] to adjust the contrast ratio.


Use [Gamma] to adjust halftone lightness such as "low-key" and "high-key. "


3. Clarity
Increasing [Clarity] will emphasize the texture of the subject.


Decreasing [Clarity] will soften the texture of the subject to create a more subdued feel.


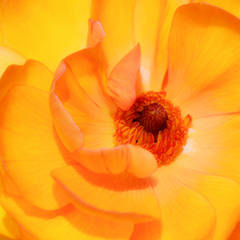

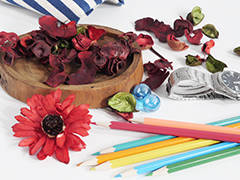
Color (Photo Style)
Use [Color] to adjust Photo Style and saturation.
1. Select Photo Style
By default, the Photo Style setting of the camera will apply. If the picture was taken in RAW mode, the type of Photo Style can be changed to any that can be set on the camera.


Standard

Vivid

Natural

Monochrome
L.Monochrome

Scenery
Portrait
Cinelike D
Cinelike V
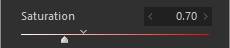
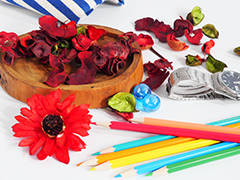
2. Adjust saturation with a slider
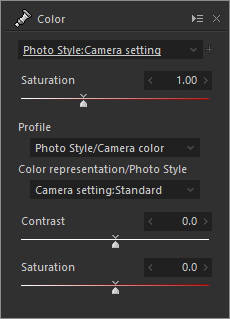
Use [Saturation] to adjust the vividness of an image.


Sharpening
Sharpening is a function for adjusting the sharpness and details of an image's outline. The default value varies according to ISO.
1. Select from tastes
Sharpening shares common tastes with noise reduction. This is because there is a trade-off relationship between the amounts of sharpening and noise (adjusting one affects the other).

2. Types of sharpening
Four types of sharpening can be selected. The default value is [Natural sharp]. This guide will explain natural sharp.
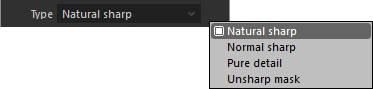
| Characteristics | |
|---|---|
| Natural sharp | A type of sharpness that has a major impact on focus with minimal adverse effects on soft focus areas. |
| Normal sharp | A normal type of sharpness. |
| Pure detail | Enables high sharpening levels without blurring the details. |
| Unsharp mask | Enables specifying the width of the outline on which sharpening will be applied. |
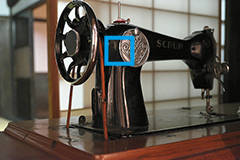
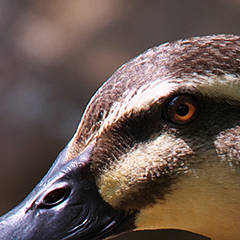
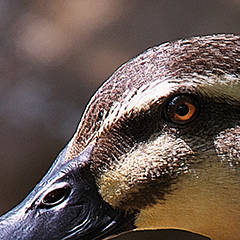
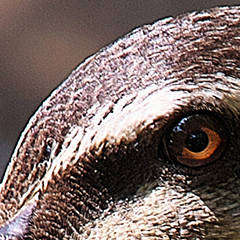
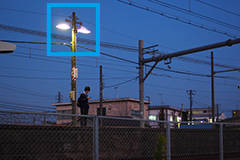
3. Adverse effects of sharpening
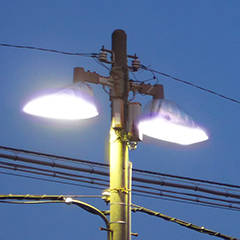
Excessively high sharpening levels will fringe outlines and emphasize noise.
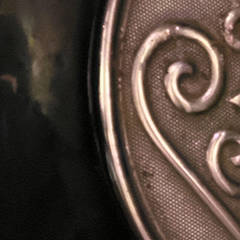
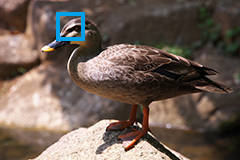
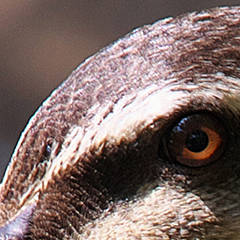
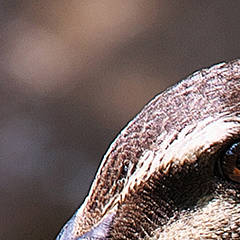
Low sharpening level
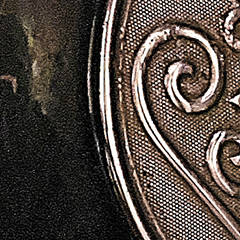
High sharpening level
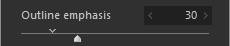
4. Adjust with sliders (natural sharp)
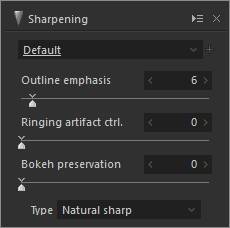
[Outline emphasis] will adjust the sharpness of the subject's outline.

[Ringing artifact ctrl. ] will reduce fringing of outlines due to adverse effects of sharpening.
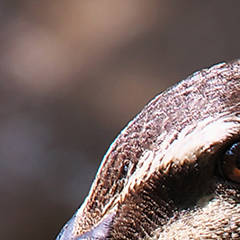
[Bokeh preservation] reduces noise in the soft focus areas due to the adverse effects of sharpening, and improves the smoothness of gradation.

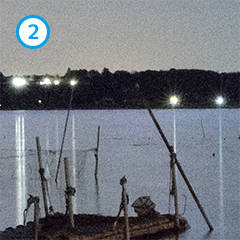
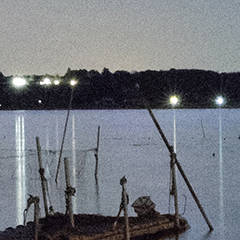
Noise reduction
Noise reduction is a function for reducing noise when ISO is high. The default value varies according to ISO.
1. Select from tastes
Noise reduction shares common tastes with sharpening. This is because there is a trade-off relationship between the amounts of sharpening and noise (adjusting one affects the other).

2. Types of noise
Mainly the following two types of noise can be reduced.
| 1 | Color noise (color distortion) | The red, blue, and green noise that appears when a picture is taken at high ISO can be reduced with [Color distortion]. |
| 2 | Luminance noise | The granular feel that remains after reducing color noise with color distortion can be reduced with [Smoothness]. |
Noise reduction has the following parameters.
- Color distortion
- Fringe reduction
- Neat noise
- Smoothness
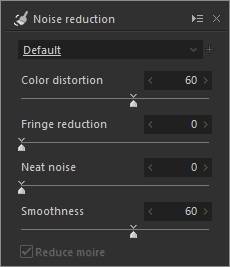
3. Color distortion (reduce color noise)
[Color distortion] can reduce the color noise that occurs at high ISO. Luminance noise remains after color noise has been reduced.


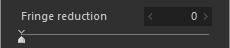
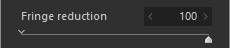
4. Fringe reduction
[Fringe reduction] can reduce bleeding of purple and other colors that occur at the outlines of light areas.

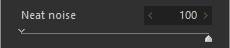
5. Neat noise
[Neat noise] can align random patterns of luminance noise.


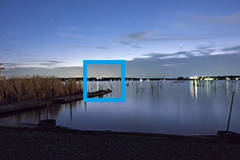
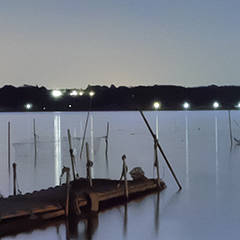
6. Smoothness (reduce luminance noise)
[Smoothness] can reduce the granular feel called "luminance noise" that remains after color distortions have been reduced. If the smoothness level is set too high, the image will become less sharp.

Copyright (C) TECHNO HORIZON CO., LTD. 2004-2026. All Rights Reserved.