| SILKYPIX® | SOFTWARE MANUAL |
| 5. Executing the development | ||||||||
- 5.1 Scene development
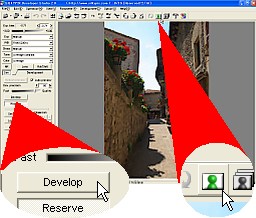 To begin developing the selected scene, please click the
  icon on the Toolbar or the menu command [Development (D)] - [Development (S)].
You can specify the detail about the final result file with "Setting for developed image" dialog. Please refer to "9.1 Setting for developed image".
5.1.1 Image pixel size to save
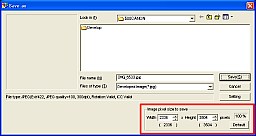 When you save one developed image with this function, you can specify the image pixel size.
Both reduction and expansion is acceptable but the aspect ratio is kept as same as original.
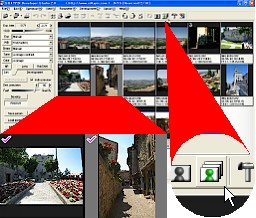 To begin developing the batch development to save scenes, please click the
  icon on the Toolbar.
First, you should save the scenes by marking the "batch development mark".
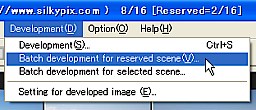 * You can start from the menu [Development(D)] - [Batch development for reserved scene(V)] command.
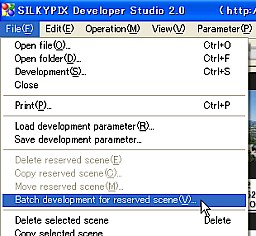 * You can start from the menu [File(F)] - [Batch development for reserved scene(V)] command.
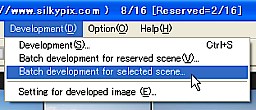 * You can start from the menu [Development(D)] - [Batch development for selected scene] command in thumbnail mode.
When you are loading only one scene by RAW data file choice, which is the target for developing.
"Batch development" develop whether you put a "Batch development mark" to the scenes or already you selected the scenes.
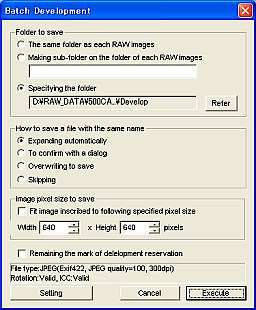 When you start the "Batch development", the "Batch development" dialog will display. You should specify following parameters before executing.
5.2.1 Specify the folder to save
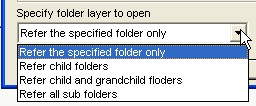
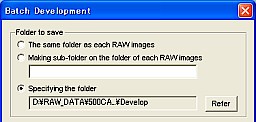 You should specify the folder to save from following three types.
The same folder as each RAW image
- The developed image will be saved in the same folder as the RAW data file that was selected.
- You can specify the sub-folder name. The sub-folder is created automatically and the developed image is save in that folder
- You can specify the folder by clicking the "Refer" button.
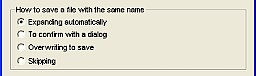 You should specify how to save the file, if the same name file exists.
As a default operation, it makes a new file name that base name (filename excluding a extension part) is same as RAW data file and the extension is set "JPG" or "TIF" according to the "Setting for developed image".
Expanding automatically
- The filename is automatically generated with the base name expansion method.
- The confirmation dialog will pop up, when the same name file exists in the specified folder. You should specify the new filename in this case.
- Overwrite the new developed image file on the previous existed file without confirmation.
- When the same named file exists, it will skip it and not save to the file.
 You can also execute the batch development when the target RAW data file exists in a separate folder. In this case, the developed image is also saved in the folder according to the specified method. This means that the developed image might be saved in more than one folder.
 You can specify the image pixel size of developed image.
If you check "Fit image inscribed to following specified pixel size", you can specify the image pixel size to save.
Actual pixel size is calculated automatically to inscribe the specified pixel size.
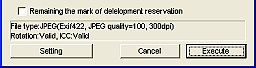 If you check "Remaining the mark of development reservation", batch development mark will be remained after development.
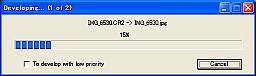 This function provides you to use other software with high priority.
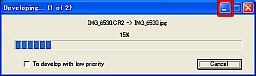
When the batch development begins, the following progress dialog is displayed.
If you check "To develop with low priority", then development process will execute with low priority from the next scene and you can give the priority to another program.
 This function provides you to make room on your desktop window and to minimize this software.