SILKYPIX Developer Studio 8 SE Startup Guide
2. Quick Start
2-1. Open images
SILKYPIX Developer Studio 8 SE opens images in folder units.
1. Click the Show "Folder" icon to display the folder list.
2. Select the folder containing the RAW image to be developed.
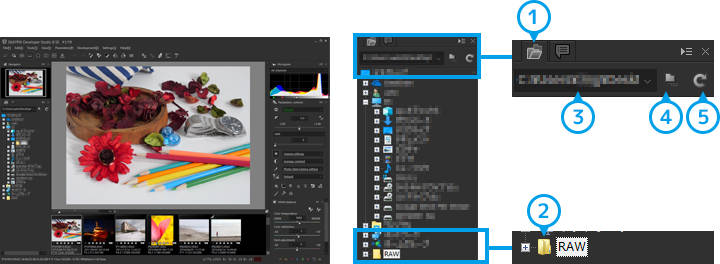
| Name | Overview | |
|---|---|---|
| 1 | Show "Folder" icon | Clicking the Show "Folder" icon will display a list of folders. |
| 2 | Select folder | Images can be opened by selecting a folder containing RAW images. |
| 3 | Folder access history | A previously accessed folder can be selected and opened. |
| 4 | Select subfolder | Clicking this icon will open images contained in a folder (subfolder) inside a folder. |
| 5 | Update | Clicking this icon will display folders added while the software is running. |
2-2. Basic adjustment
Main controls
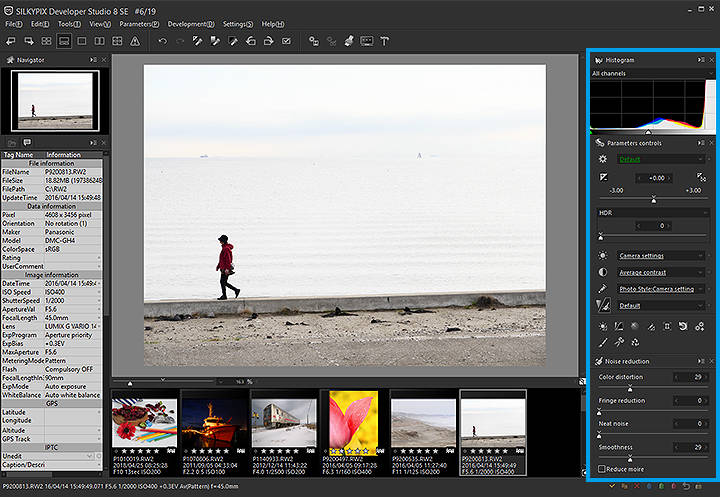
Make basic adjustments using adjustment items arranged in the main controls.
In the SILKYPIX Developer Studio 8 SE there are two methods for adjusting images.
1. Making adjustments by selecting parameters (tastes) registered in advance from a menu
2. Making adjustments with sliders arranged in the tab page
Adjustments can be made effectively by selecting a taste that is close to the desired result and using sliders arranged in the tab page to make fine adjustments.
Edit by tastes
For each parameter, select a taste registered in advance from the pull-down menu.
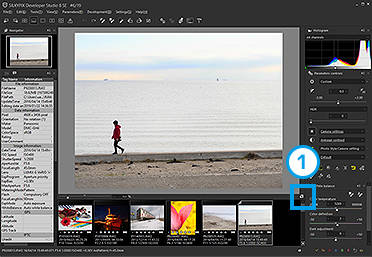
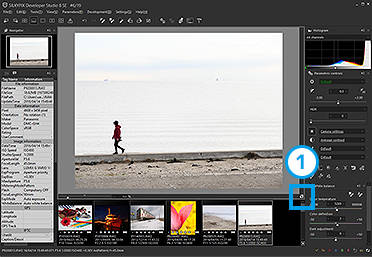
Parameter icons and tab pages
You can switch between 1. "tab pages" by clicking parameter icons. Fine adjustments are made in the tab page.
![]()
Basic adjustment process in developing RAW images
It would be effective to perform edits in the following order.
1. Photo Style
2. Exposure bias
3. White balance
4. Tone
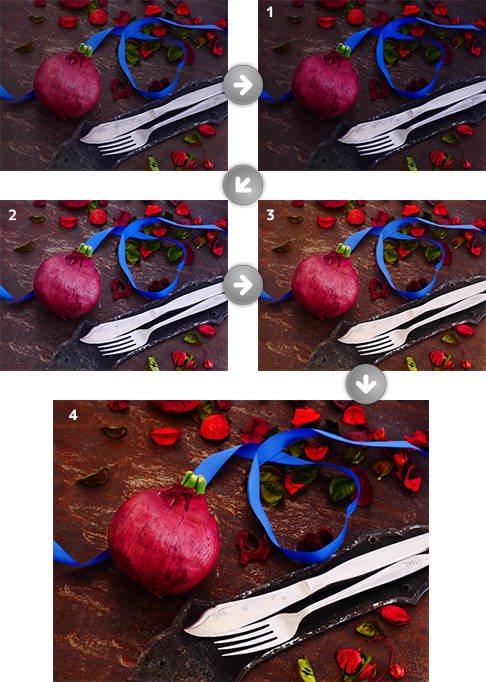
1. Photo Style
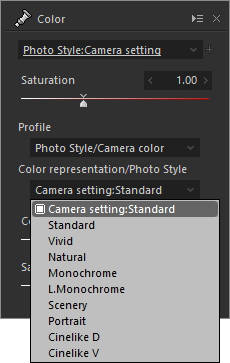
This function allows you to make color reproducibility and tone reproduction settings according to the subject or theme. First determine the theme color that suits the subject for an entire image in PHOTO STYLE.
When the image is opened, the Photo Style mode set on the camera is selected. If the picture was taken as a RAW image, a different Photo Style mode can be selected when developing the RAW image. The Photo Style mode can be changed by selecting a desired option from the [Color representation/Photo Style] menu in [Color].
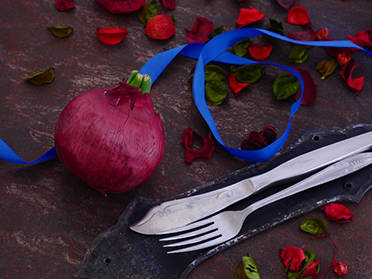
Standard

Vivid
2. Exposure bias
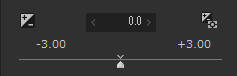
Move the slider sideways to adjust the lightness of an image between -3.0EV and +3.0EV.
No exposure bias

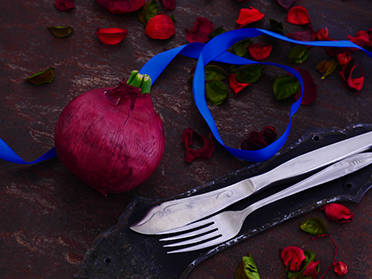
+0.7EV lighter
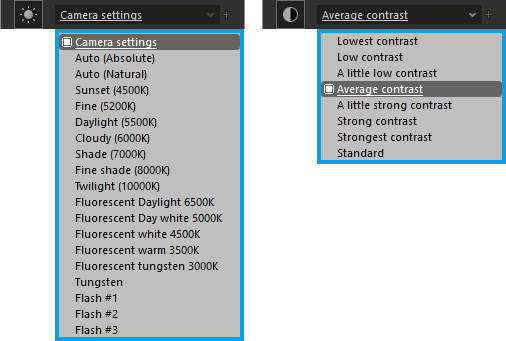
3. White balance
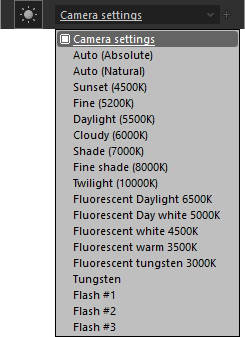
Select a white balance taste to adjust the overall hue of an image.

Camera white balance
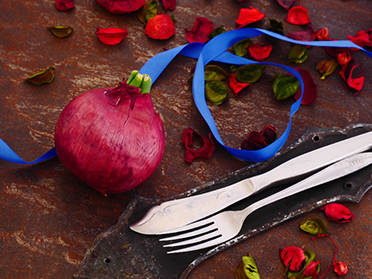
Sunset (4500K)
4. Tone
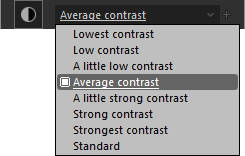
Select a tone taste to adjust the contrast of an image.

Tone: Average contrast
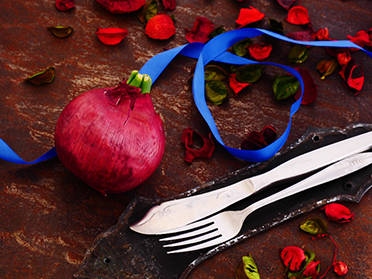
Tone: Strongest contrast
Comparing images before and after adjustment
To compare the difference between before and after adjustment, press the left mouse button on the 1. [Show the image with default parameters while holding down] icon. The image before adjustment is displayed while the button is pressed, and the image after adjustment when the button is released.
After adjustment
Before adjustment

2-3. Develop images
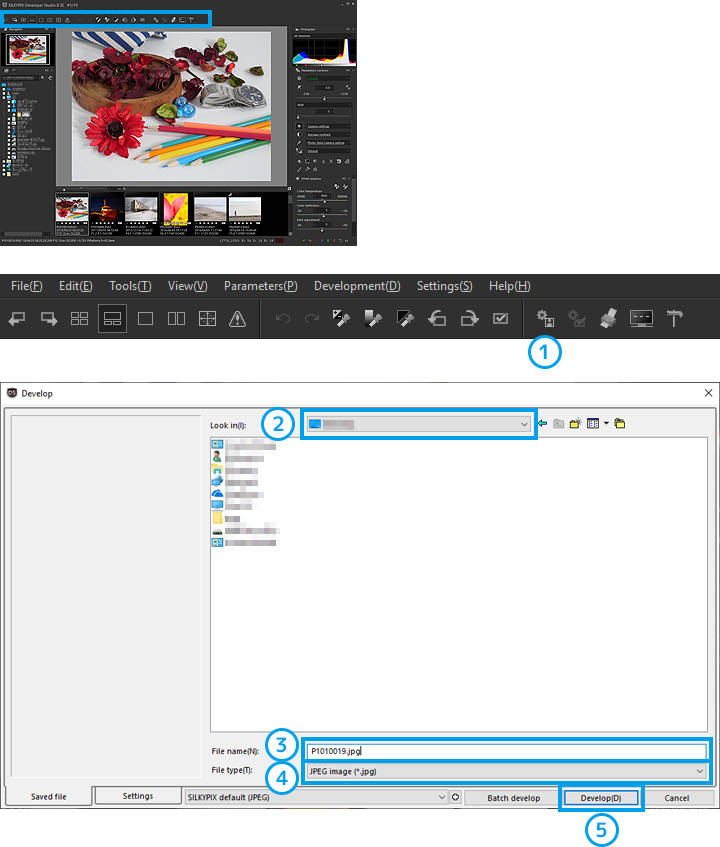
What is development?
The term "development" refers to the process of converting an adjusted RAW image into a general-purpose JPEG or TIFF image. When a RAW image is developed, a separate JPEG/TIFF image is created and saved.
| Name | Overview | |
|---|---|---|
| 1 | Develop | Clicking this icon will display the Develop dialog. |
| 2 | Look in | Select a folder to save the JPEG or TIFF image. |
| 3 | File name | Enter a file name for the JPEG or TIFF image. |
| 4 | File type | Select either JPEG or TIFF for the file format to save the image in. |
| 5 | Develop button | Pressing this button will execute development. |
Copyright (C) TECHNO HORIZON CO., LTD. 2004-2026. All Rights Reserved.